As an Amazon Associate, we earn from qualifying purchases. Some links on this site are affiliate links at no extra cost to you. Our recommendations are based on thorough research and editorial judgment.
How to Store Your Pool Vacuum Off-Season
Store your pool vacuum off-season by first disconnecting it safely, then thoroughly rinsing all parts including brushes and filters to remove debris and chemicals. Inspect cables, hoses, and components for cracks or damage, coiling cables loosely to avoid strain. Choose a cool, dry, ventilated storage spot, elevated off the floor to prevent moisture damage. Confirm all parts are dry before storing and check batteries per manufacturer guidelines. Follow these steps to maintain function and durability, with additional tips available on optimizing performance next season.
Key Takeaways
- Thoroughly clean and rinse the pool vacuum to remove debris, chemicals, and moisture before storage.
- Disconnect the vacuum carefully, avoiding damage to hoses and cables.
- Inspect all components and cables for wear, damage, or corrosion, replacing any faulty parts.
- Coil cables and hoses loosely, securing them to prevent tangling and stress damage.
- Store the vacuum in a cool, dry, well-ventilated area elevated off the floor and away from sunlight and freezing temperatures.
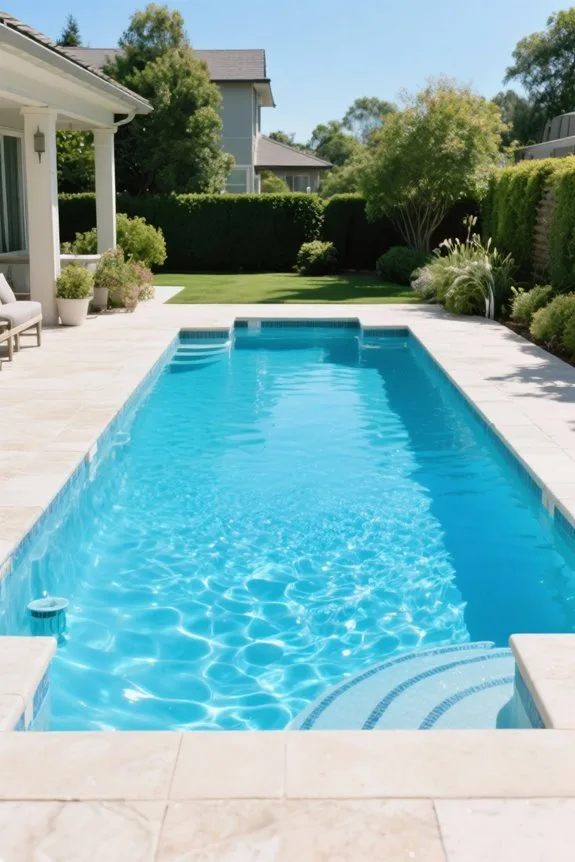
Importance of Proper Storage for Pool Vacuums
You may be interested
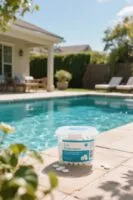
Although ending the pool season signals downtime for your equipment, proper storage of the pool vacuum is crucial to maintain functionality and durability. Clean the vacuum thoroughly with clean water to remove debris and chemicals that cause mold or mildew. Store the unit in a cool, dry place away from direct sunlight to protect sensitive electronics and prevent corrosion. Coiling cables carefully prevents tangling and internal wire damage, extending cable life. Conduct regular inspections during storage, checking seals, hoses, and motors for wear or potential problems, addressing any issues early. Following these steps will protect your investment and guarantee peak performance the next season. Proper storage safeguards internal components, avoids costly repairs, and preserves vacuum reliability for efficient pool maintenance upon reopening. Additionally, ensuring your robotic vacuum is stored with care will help maintain optimal filter system quality, which is essential for thorough water clarity during the next pool season.
Optimal Timing for Pool Vacuum Storage
A critical step in seasonal maintenance involves storing the pool vacuum immediately after completing the final cleaning, before beginning winterization procedures. Properly timing when to store your pool vacuum is essential to prevent damage from freezing water inside the unit. Avoid waiting until the first freeze; instead, schedule storage as part of your pool closing routine. Make certain your robotic pool cleaner is dry to reduce mold and mildew risks during the off-season. Store your pool vacuum in a cool, dry environment with temperatures above freezing, protecting internal components from extreme cold. By following this ideal timing, your cleaner will be ready for use when the pool season returns, ensuring efficient care during the off-season while extending the vacuum’s service life. Regular filter maintenance before storage also helps preserve suction power and overall performance.
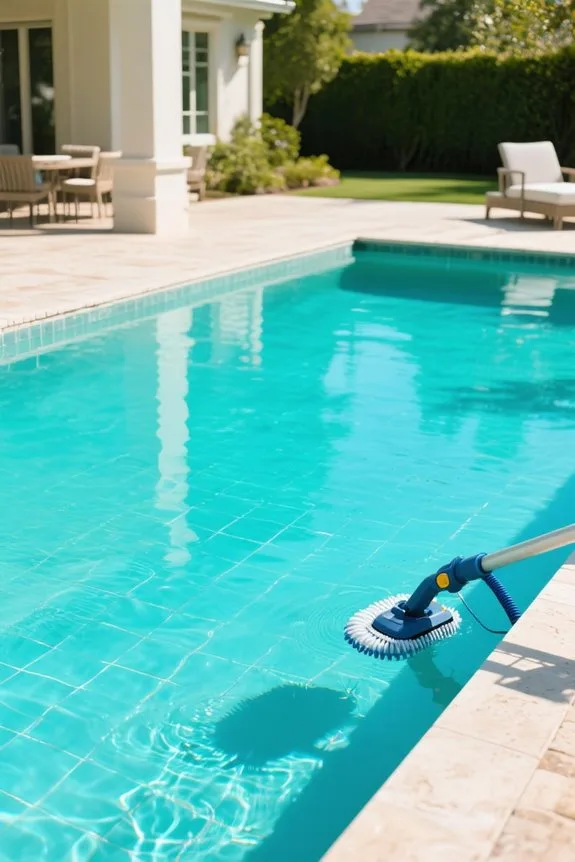
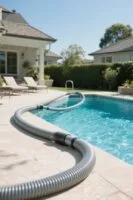
Step 1: Disconnect and Safely Remove Your Pool Vacuum
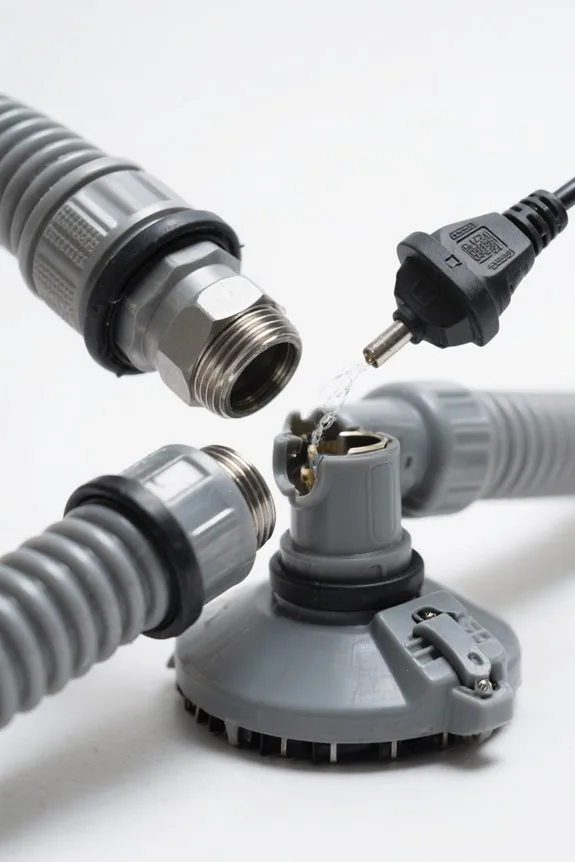
Before disconnecting the pool vacuum, verify all pool equipment is completely powered off to prevent accidental activation. Carefully disconnect the cleaner from the skimmer or dedicated suction port, avoiding excessive force to prevent damage to the connectors. Handle all hose connections gently, guaranteeing no cracking occurs during removal. Check the vacuum for any debris or built-up grime before fully removing it from the pool; this step simplifies later cleaning. Once removed, store the vacuum and hoses immediately in a dry location to prevent water freezing inside during the off-season. Choosing an appropriate storage location helps maintain the equipment’s integrity and performance. Following these steps guarantees the pool vacuum is safely disconnected, removed, and prepared for thorough cleaning and storage. Additionally, regularly checking and replacing key components like brushes and filters before storage helps maintain long-term vacuum efficiency.
Recommended Products

Effortless & Efficient Sweeping: This battery-powered sweeper dramatically reduces operator fatigue and increases productivity, with a battery-operated main broom, side brushes, and dust fan

UNMATCHED QUALITY: Constructed with the highest quality material plus a UV inhibitor ensures long life in even the most extreme environments. Guaranteed to never fade, warp, crack, or crush.

SAFE & SECURE – The SportDiver case for most Android models and iPhone 11 & up is waterproof for dives down to 130 feet using its cam-lock sealing mechanism. The interior tension spring and rubber grip tabs hold your phone in place while adding shock protection. Should you not seal the case correctly the AUDIBLE & VISUAL MOISTURE & PRESSURE ALARMS will quickly notify you. The anti-fog Moisture Muncher capsule prevents internal fogging from residual moisture
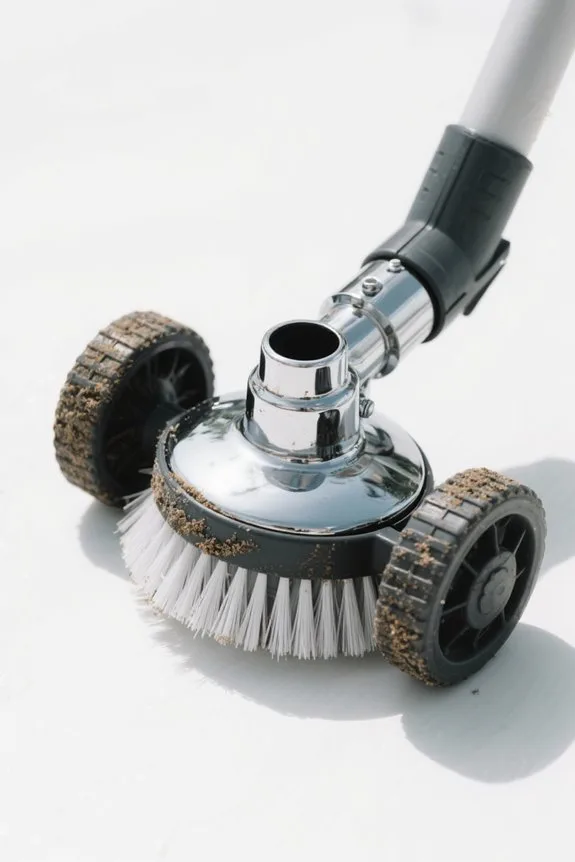
Step 2: Thoroughly Clean and Rinse the Vacuum
Once the vacuum and hoses are safely removed and stored in a dry place, prepare to thoroughly clean the vacuum before long-term storage. Rinse the entire unit with clean water to remove all debris and residual chemicals, focusing on brushes, wheels, and filter bags or cartridges. Confirm no algae, sand, or leaves remain lodged in any part. Pay close attention to the filter, flushing it fully to avoid blockages during storage. After rinsing, allow all components to air dry completely, preventing mold growth and rust caused by trapped moisture. Skipping this step risks damage and corrosion. Completing a thorough rinse and cleaning preserves the vacuum’s functionality, making end-of-season maintenance easier and extending equipment life for the next swimming season. Regular filter checks and emptying are crucial, especially for reusable systems, to maintain optimal performance during storage.
Recommended Products
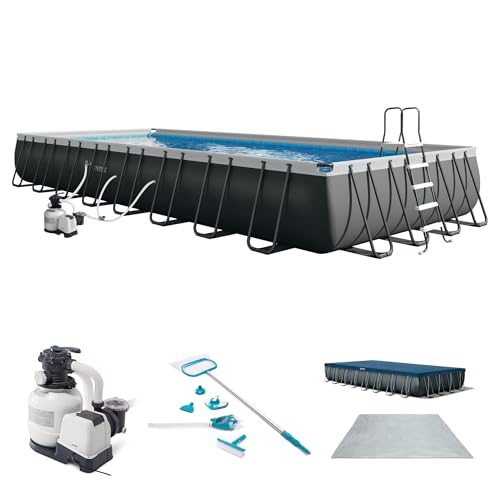
EXPERIENCE THE ULTRA DIFFERENCE: Uniquely designed frame combines high quality galvanized steel with precision engineered locking system, enhancing the overall quality, durability and stability of the pools; 2-year warranty included for peace of mind.
EXPERIENCE THE ULTRA DIFFERENCE: Uniquely designed frame combines high quality galvanized steel with precision engineered locking system, enhancing the overall quality, durability and stability of the pools; 2-year warranty included for peace of mind.

All ages will enjoy swimming all summer long in this 18-foot by 9-foot by 48-inch outdoor rectangular above-ground pool; Realistic Prismatic Stone print provides a beautiful look that adds texture and a rich blue color to the inner liner
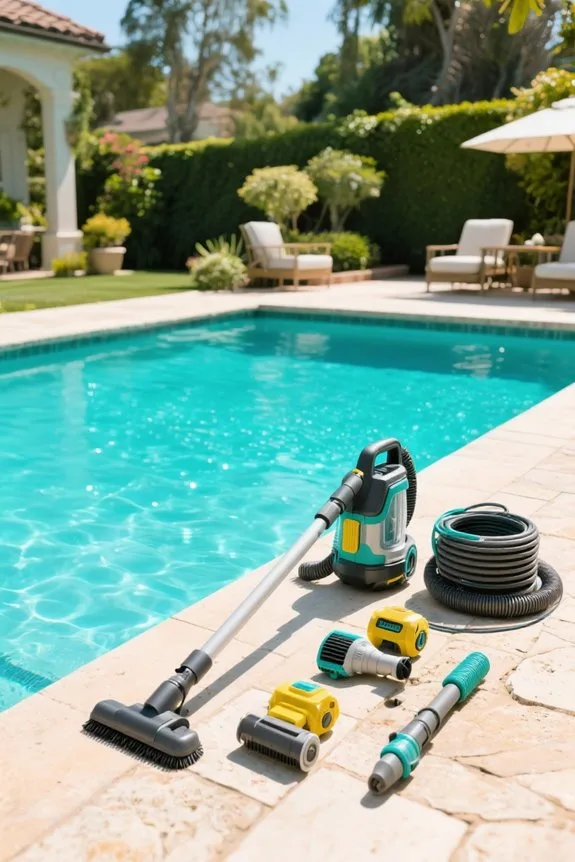
Step 3: Inspect for Damage and Wear Before Storage
Carefully inspect every component of the pool vacuum, including hoses, brushes, and wheels, for cracks, tears, or signs of wear impairing functionality. Examine the power supply and cables thoroughly for fraying or damage that could pose safety risks or reduce efficiency. Remove and check the filter and filter basket for blockages, breaks, or accumulated debris that could hinder performance. Document any damage or necessary replacements, noting specific parts such as hose sections or brush bristles that require attention. Early identification of wear extends vacuum lifespan and guarantees readiness for the next season. Conduct these inspections methodically, using a flashlight for hidden areas, and avoid overlooking small cracks or loose fittings that might worsen if stored improperly. Taking these steps prevents costly repairs and maintains peak vacuum performance over time. It is also important to verify that any replaced parts maintain compatibility with the vacuum’s filtration system.
Recommended Products

Capable of up to 360,000 BTU/hr heat transfer
Capable of up to 360,000 BTU/hr heat transfer

Tube Bundle 406/407Polymer Kit
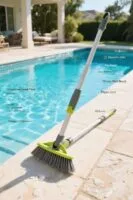
Step 4: Properly Coil and Protect Cables and Hoses
After identifying and documenting any damage to components, turn attention to the cables and hoses, which require proper handling to maintain integrity. Properly coil cables and hoses in loose loops, avoiding tight bends that cause stress points and potential damage over time. Use cable ties or wraps to secure coils, keeping them organized and preventing tangling during storage. Place the coiled cables and hoses in a designated storage container or bin to shield them from moisture, UV rays, and physical harm. Before the next season, perform a thorough inspection of the stored cables and hoses, checking for wear, cracks, or other damage. Addressing these details guarantees the pool vacuum’s cables and hoses remain functional, extending their lifespan and maintaining vacuum efficiency when redeployed. Storing hoses upright and using hooks or reels helps prevent permanent bends and kinks during off-season storage.
Recommended Products

Hand crank compact hose reel for 1-1/2/ 2 inch

CONVENIENT DESIGN: Ideal for commercial vacuum systems featuring a direct connection for vacuum hose designed to extract unwanted fumes, particles, and by-products. It provides a hose clamp for strain relief when the hose is fully extended from the reel.

Swing type hose storage reel
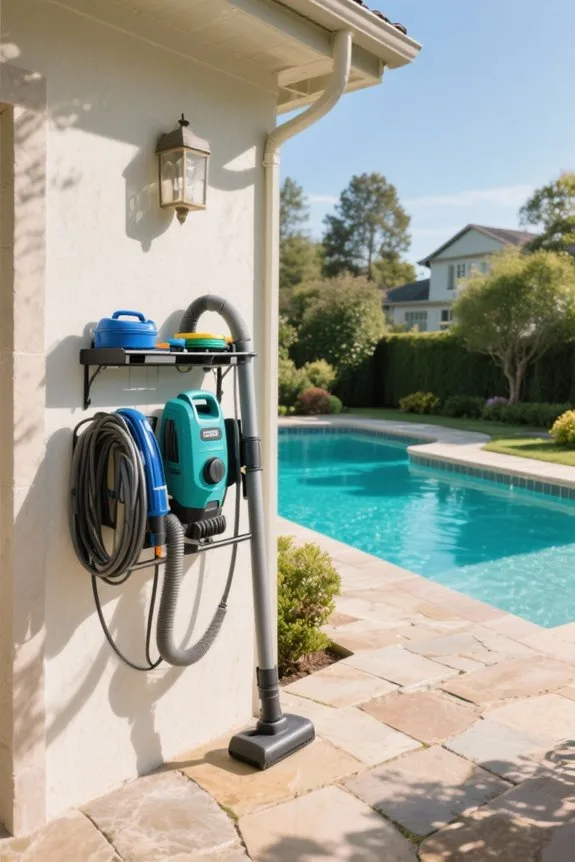
Step 5: Selecting the Ideal Storage Location
Because proper environmental conditions greatly impact equipment longevity, select a storage location that is dry, well-ventilated, and maintains a stable temperature between 41˚ and 113˚ Fahrenheit (5˚ to 45˚ Celsius). Avoid areas prone to high humidity or significant temperature fluctuations, which can damage electronic parts and degrade plastic components. Opt for garages, utility closets, or designated sheds that protect the vacuum from outdoor elements and direct sunlight. Elevate the vacuum and accessories off the floor using shelves or storage bins to prevent water damage and pest intrusion. Keep the storage space organized by labeling bins and arranging components for easy access. This approach will protect your pool vacuum, extend its lifespan, and simplify setup once the swimming season resumes. Additionally, consider the battery maintenance recommendations found in several cordless robotic pool cleaners to ensure optimal performance after prolonged storage.
Recommended Products

12x20 FT Extra Large Storage Shed: Offers a wider interior space that can act as both a storage shed and a carport, comfortably accommodating cars, motorcycles, tools, and equipment.

【OUTDOOR SPECIALIZED REFRIGERATOR】- It is made of fingerprint-resistant stainless steel and IPX4 waterproof material for rust and corrosion resistance, and its weather-resistant design shields it from the elements and makes it suitable for different climatic conditions. The airtight door and effective insulation maintains a constant temperature to keep your beverages refreshing. Its compact freestanding design allows it to be placed in outdoor spaces such as patios, decks or poolside.

Large Storage Capacity: Our 4-tier horizontal cylinder storage cabinet measures 30" D x 30" W x 71-3/4" H, 1-1/2" x 1/8" angle iron frame. The horizontal cylinder storage cabinet holds 8 cylinders. Accepts 20 pounds and 33-1/2 pounds LPG cylinders
Maintenance Tips to Follow During Off-Season Storage
Maintain vigilance by routinely inspecting the pool vacuum for wear, cracks, or corrosion signs, addressing any issues immediately to avoid equipment failure. When you store your robotic pool cleaner, clean the filter thoroughly to prevent mold and mildew growth during storage. Follow the manufacturer’s guidelines for battery care to maintain working condition throughout the off-season. Coil all hoses and cables carefully, avoiding kinks or tangles that storage can lead to. Monitor storage temperature, keeping it between 41˚-113˚F (5˚-45˚C), to protect electronic parts from damage. Check frequently for signs of damage or corrosion, as neglect can impair pool maintenance tasks later. Regular attention helps guarantee the robotic pool cleaners remain fully functional and extends their service life, readying them for peak performance when the swimming season returns.
Preparing Your Pool Vacuum for the Upcoming Season
When preparing your pool vacuum for the upcoming season, begin by thoroughly inspecting every component for wear, cracks, or damage, replacing any parts that show signs of deterioration. Clean the filters and attachments to remove debris, guaranteeing your Dolphin robotic pool cleaner remains in good condition. Confirm that the vacuum is completely dry before storage, preventing rust or mildew buildup during the cooler months. Carefully coil the power cord to avoid tangling or damage. Store your robotic pool vacuum in a cool, dry location away from direct sunlight and heavy equipment. Before use, reconnect the power cord, test all functions, and check for remaining debris. These steps guarantee your pool vacuum is ready to use, performing effectively as soon as the swimming season begins. Additionally, regularly rinsing or replacing filter screens or socks maximizes suction efficiency for optimal cleaning performance.
Frequently Asked Questions
Can You Leave Your Pool Vacuum in the Pool?
Leaving a pool vacuum in the pool risks corrosion, mold, and equipment failure despite convenience. Pool maintenance tips emphasize vacuum damage prevention and winterization techniques, advocating removal for seasonal cleaning routines, storage container recommendations, and equipment longevity strategies ensuring pool safety concerns are minimized.
Where to Store a Pool Pump in Winter?
A pool pump in winter should be stored indoors, following pool pump care and winterizing procedures. Outdoor storage solutions require tarps for protection against freeze. Maintenance tips include coil management and space-saving techniques to prevent damage.
How to Store an Aiper Pool Vacuum for Winter?
How can one preserve an Aiper vacuum’s cleaning efficiency through winter? Employ winter storage techniques like thorough rinsing, drying, and component protection, ensuring year-round upkeep, safe transportation methods, and integrating essential pool maintenance tips for optimal Aiper vacuum care.
Can You Leave a Pool Pump and Filter Out in Winter?
Leaving pool pumps and filters outside in winter is discouraged. Proper pool equipment care involves filter cleaning procedures, pump insulation techniques, and vacuum storage tips during seasonal pool prep and winter pool maintenance to prevent damage and guarantee effective winterizing accessories use.