As an Amazon Associate, we earn from qualifying purchases. Some links on this site are affiliate links at no extra cost to you. Our recommendations are based on thorough research and editorial judgment.
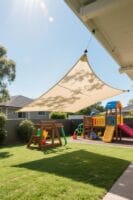
Tips for Measuring Patio Spaces for Sails
Locate sturdy anchor points like trees or poles, mark them clearly, and measure distances with a 100-foot tape measure, adding 1 to 3 feet for tension hardware. Use a ladder to check heights, record vertical offsets, and maintain an 18° to 20° slope for drainage. Include fabric stretch allowances of 1.5%-3.5% or 4%-8%, depending on material, plus 10%-15% extra space. Double-check all measurements on-site for accuracy. For detailed guidance on avoiding common pitfalls, keep exploring further instructions.
Key Takeaways
- Identify and mark sturdy anchor points like trees or poles before measuring the patio space for the sail.
- Use a long tape measure and add 1 to 3 extra feet between anchor points for tensioning hardware.
- Measure heights of anchor points accurately to ensure an 18° to 20° slope for water runoff.
- Add 10% to 15% extra space on all sides to accommodate fabric stretch and secure tensioning.
- Double-check all dimensions at the actual installation height to prevent coverage gaps or fitting issues.
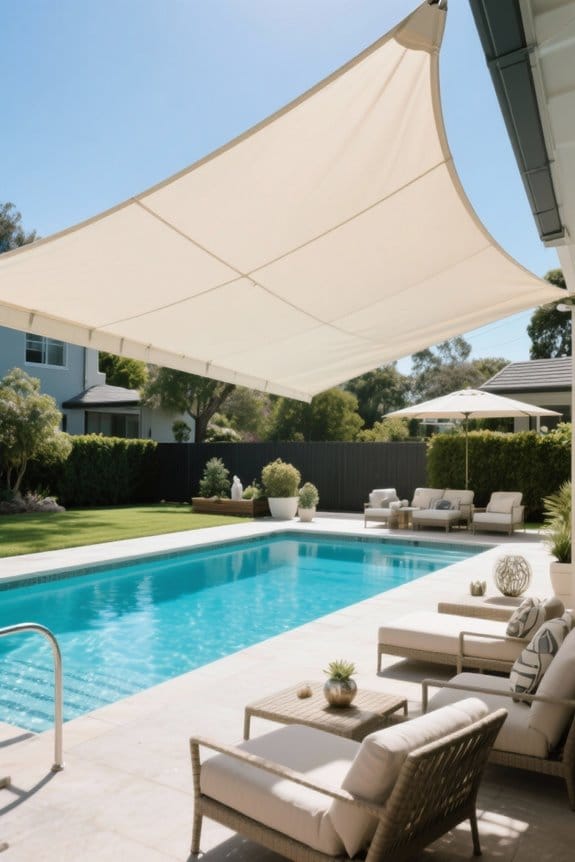
Identifying Anchor Points and Coverage Area
You may be interested

Begin by locating sturdy anchor points capable of bearing consistent tension, such as robust trees with healthy trunks, solid exterior walls, or metal poles securely embedded in concrete. Identify and mark anchor points carefully to guarantee safe and effective support for shade sail fabrics. Decide the desired coverage area by considering sun angles and the amount of shade needed. Sketch the layout of your space, marking anchor points in relation to the coverage area. Measure distances accurately between these points, remembering to add extra space to accommodate hardware and tensioning requirements. Confirm the total space to install your shade sail is at least two feet larger than the sail dimensions, allowing proper tension and preventing sagging. Precise measuring at this stage simplifies installation and increases durability. Additionally, choosing materials with UV protection helps prolong the lifespan of your shade sail by preventing fading and damage from sun exposure.
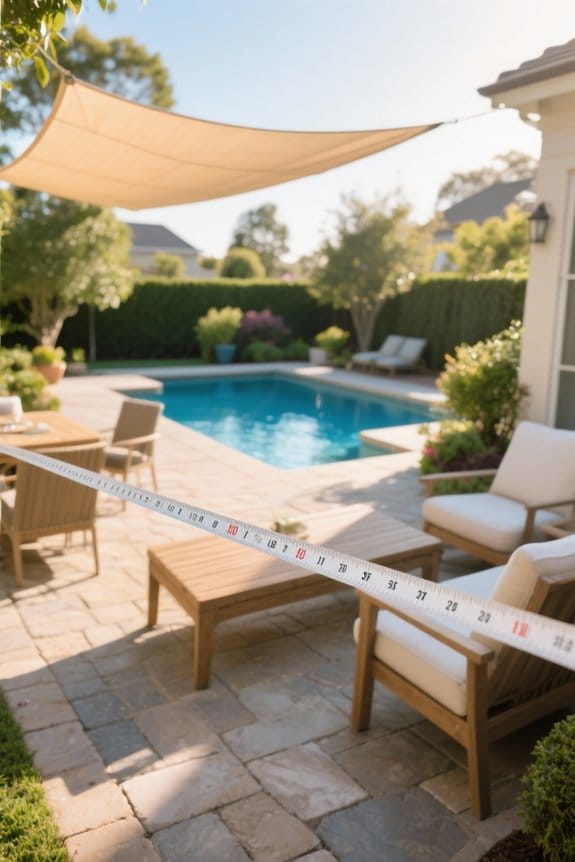
Essential Tools for Accurate Measurement
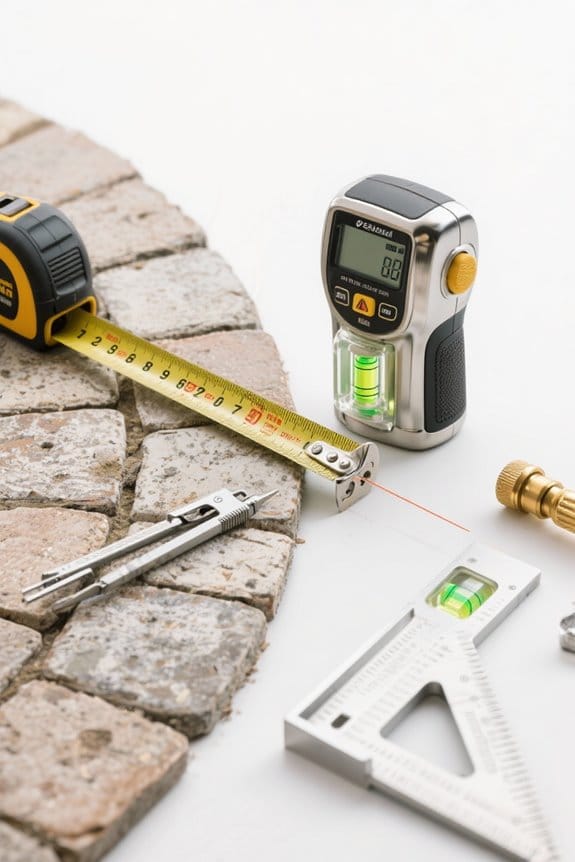
Although measuring patio spaces for shade sails can be challenging, gather essential tools before starting to guarantee accuracy and efficiency. Use a long tape measure, ideally 100 feet, to precisely measure the distance between two anchor points. Bring a sturdy ladder to reach high attachment points safely and capture accurate height readings. Carry a notepad and pen to record every measurement systematically and avoid errors during planning. Employ a plumb bob to verify vertical alignment when measuring anchor point heights, which is critical for proper sail tension and fit. Consider using rope or string briefly to visualize the shade sail measurements, confirming layout before finalizing data. Prepare all tools thoroughly to streamline the measurement process and reduce the risk of unforeseen adjustments later. Ensure to maintain an installation gap of 1.5-2 feet around the sail for optimal tension adjustment, as recommended for accurate D-ring measurements.
Recommended Products

Dual-Scale Measurement System: The WOTAHI 100 ft measuring tape features clear and easy-to-read graduations on both sides of the tape, supporting both feet and metric scales to help you easily and accurately read measurement results
Steel blade for durability and longer life

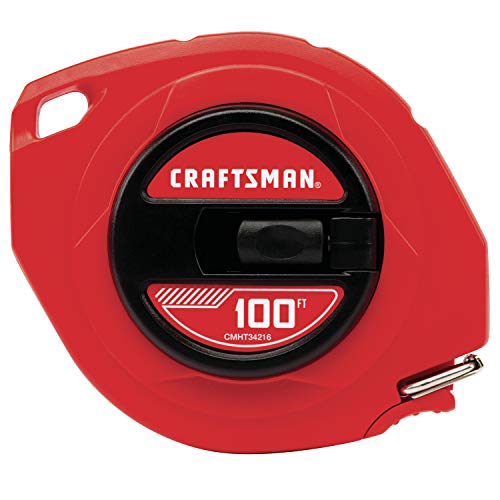
The item is DEWALT DWHT34036L 100-Foot Closed Case Long Tape
Step-by-Step Measurement Procedure

Several key actions must be taken to accurately measure a patio space for a shade sail. Start by identifying and marking anchor points, such as trees or posts, that define the coverage area. Use a tape measure to measure the distance between these points, adding 1 to 3 feet extra for proper tensioning. Record vertical measurements to determine height difference, aiming for a slope of 3 feet per 10-foot span to enable water runoff. Double-check all measurements to confirm full coverage of the intended Outdoor Living area. Document distances and heights systematically before submitting these figures for a custom shade sail order. This detailed measurement procedure guarantees accurate fit, facilitates proper tensioning, and optimizes functionality and aesthetics of the finished installation. Additionally, selecting materials with corrosion-resistant properties ensures long-lasting durability for outdoor installations.
Recommended Products

DUAL-SIDED (80 INCH / 2 METER) RETRACTABLE TAPE MEASURE - Retractable, soft, and flexible. Vinyl-coated fiberglass tape is durable and sturdy with a high quality metal end piece. Fits well in a tool belt, as a pocket tape measure, or in your purse.

Heavy Duty Sail Repair Tape

5-foot soft vinyl tape measure perfect tailor's tool for measuring flat or rounded surfaces
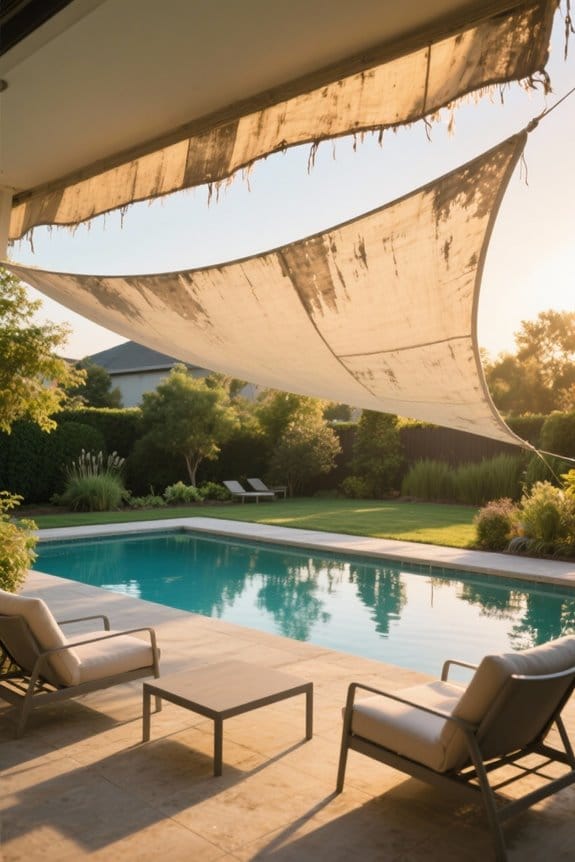
Avoiding Common Measurement Mistakes
Account for all necessary clearance by adding 10% to 15% extra space around each sail edge to accommodate tensioning hardware. When measuring for a shade, avoid limiting measurements to straight lines; include any sail curves, as failing to do so can distort the required distance. Measure at the actual installation height to prevent discrepancies, particularly on sloped surfaces. Keep in mind, inaccurate measurements cause improper tensioning and inadequate shade coverage. Double-check all dimensions, confirming the space planned to install the sail aligns with the measurements taken. Finally, account for the sun’s angle when determining sail placement, as this affects effective coverage. By following these steps, one can avoid common measurement mistakes and guarantee the shade or sail fits the space precisely and functions as intended. Additionally, considering efficient navigation technology used in advanced devices can help optimize how shading is managed in irregular outdoor layouts.
Recommended Products
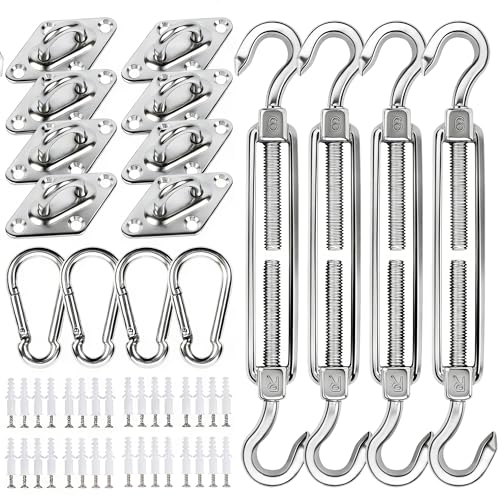
[One Kit for Any Design]: Conquer any shade sail project—rectangle, triangle, hexagon, or custom shapes—with one comprehensive 80-piece kit. Ditch the confusion of piecing together multiple sets. Plus, when installing common square or triangle sails, the extra hardware acts as your instant backup plan, saving you time and hassle if a replacement is ever needed.

Premium Stainless Steel: Sun shade sail hardware kit is made of heavy 304 stainless steel material, maximum durability and rust resistance. No matter where you set up and fix sail, you'll be able to relax in comfort under the safety shade it gives you.
High Quality Shade Hardware Kit - This 6" rectangle outdoor shade sail installation kit is made of high quality 304 grade stainless steel. The hardware kit is extremely strong and resistant to the elements, This is can to support 141s of pounds. High load-carrying capacity to keep your sails stable in wind, suitable for windy areas or large fixtures such as sun shade sail, canopy
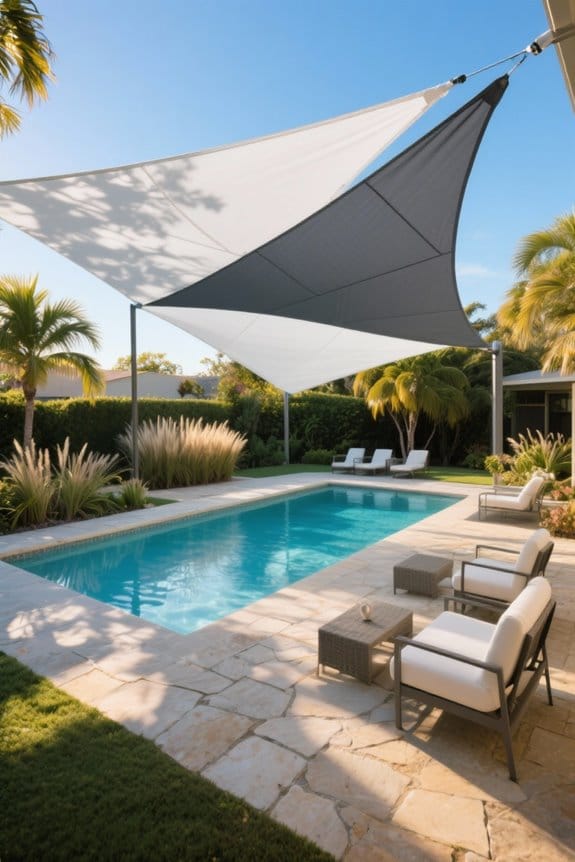
Accounting for Fabric Stretch and Tensioning
Include fabric stretch allowances when determining sail dimensions, as materials like Purishade® and Meshnet® differ in elongation rates. Measure your outdoor space carefully, then add 1.5%-3.5% for Purishade® or 4%-8% for Meshnet® to each edge. Next, factor in a 10% to 15% margin on all sides to facilitate proper tensioning during installation. Mark key points to guide attachment and maintain a recommended 18° to 20° slope for water runoff. Avoid overtightening, which risks fabric tearing, and slack, which causes sagging and inadequate shade. Remember, shade sails stabilize after 14 to 21 days, so periodic retensioning may be necessary. Plan thoroughly to guarantee the sail fits securely, stretches appropriately, and performs efficiently in your outdoor space. Regular inspection and maintenance, similar to the upkeep recommended for surface compatibility in pool equipment, ensure your sail maintains its tension and shape over time.
Recommended Products
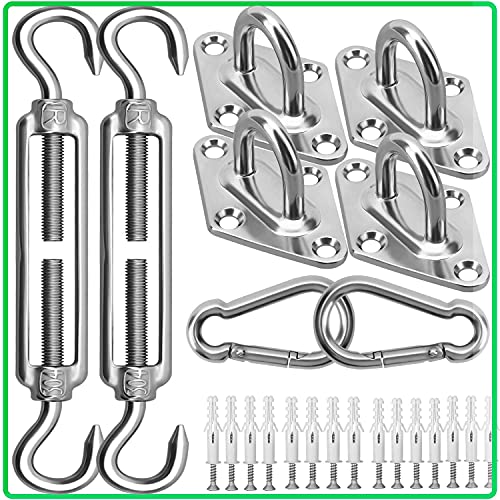
All-in-One Sun Shade Sail Hardware Kit: Our complete shade sail hardware kit includes everything you need for easy installation: 4 turnbuckles, 4 snap hooks, 4 pad eyes, 16 screws, and 16 expansion anchors. Ideal for sun shades outdoor patio, pergolas, awnings for patio, and outdoor sails for shade waterproof.

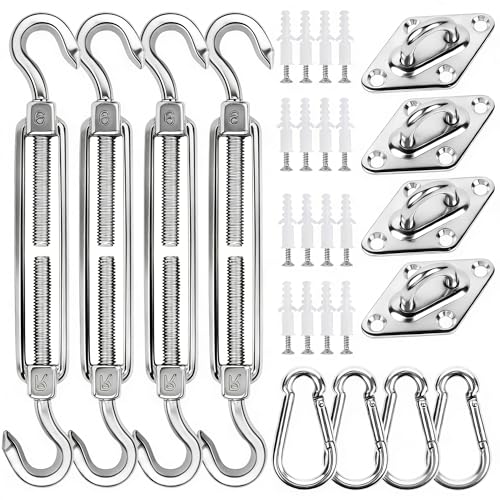
All-in-One Sun Shade Sail Hardware Kit: Our complete sunshade hanging kit includes everything you need for easy installation: 4 turnbuckles, 4 snap hooks, 4 pad eyes, 16 screws, and 16 expansion anchors. Ideal for sun shades outdoor patio, pergolas, awnings for patio, and outdoor sails for shade waterproof.

Premium Craftsmanship Durable: BUDONI shade sail hardware kit is crafted from premium 304 stainless steel with an anti-rust black oxide finish, providing excellent corrosion resistance and long-lasting durability for extended outdoor use. This sun shade hardware kit withstands rain, UV solar exposure, and strong wind, making it an ideal choice for securing shade sail. This shade sail hardware delivers reliable performance while adding a modern, high-end look to sun shades outdoor patio setups.
Frequently Asked Questions
How to Measure Sail Area?
To measure sail area, one calculates sail dimensions precisely, considering tension considerations and weather factors. Fabric recommendations depend on shade coverage needs. Installation tips emphasize design aesthetics, ensuring the sail complements the environment while providing effective protection and durability.
How Do I Know What Size Sunshade to Get?
Determining sunshade dimensions hinges on patio coverage needs, balancing fabric options and design considerations. Installation tips guide tensioning for durability, while shade benefits inform purchasing guidelines, ensuring the perfect size enhances comfort and style effectively.
How to Measure Outdoor Space?
Measuring outdoor space requires accurate measuring tools to determine outdoor dimensions and ground coverage. Effective space planning involves area calculation, distance accuracy, and shape considerations, ensuring the layout fits the intended design and functional requirements precisely.
How to Measure for New Sails?
Measuring for new sails is like charting a course—precise shade coverage calculation and sail material selection depend on patio layout design, installation tips, and seasonal sun angles. Avoid common measurement mistakes while considering aesthetic considerations for seamless integration.