As an Amazon Associate, we earn from qualifying purchases. Some links on this site are affiliate links at no extra cost to you. Our recommendations are based on thorough research and editorial judgment.

DIY Pool Vacuum Repair: What’s Safe to Try
Begin DIY pool vacuum repair by disconnecting all power sources, inspecting hoses for leaks or cracks, and securing any loose connections to maintain suction. Examine vacuum filters and baskets for clogs, clean them thoroughly, and check the pump pressure; readings above 30 psi often signal filter blockage. Manually rotate mechanical parts to identify wear, and lubricate seals if necessary. Avoid complex internal repairs unless equipped with model-specific kits. Following these guidelines guarantees safe troubleshooting—proceed to explore detailed maintenance and repair steps.
Key Takeaways
- Always disconnect power sources and wear safety gear before starting any pool vacuum repairs to prevent injury.
- Inspect hoses and connections for leaks or cracks to maintain suction without needing advanced tools.
- Clean filters and baskets regularly to restore efficiency and avoid complex mechanical issues.
- Reset robotic vacuums and remove debris from wheels or brushes to resolve common performance problems safely.
- Use model-specific repair kits carefully to replace worn parts and lubricate moving components for extended vacuum life.
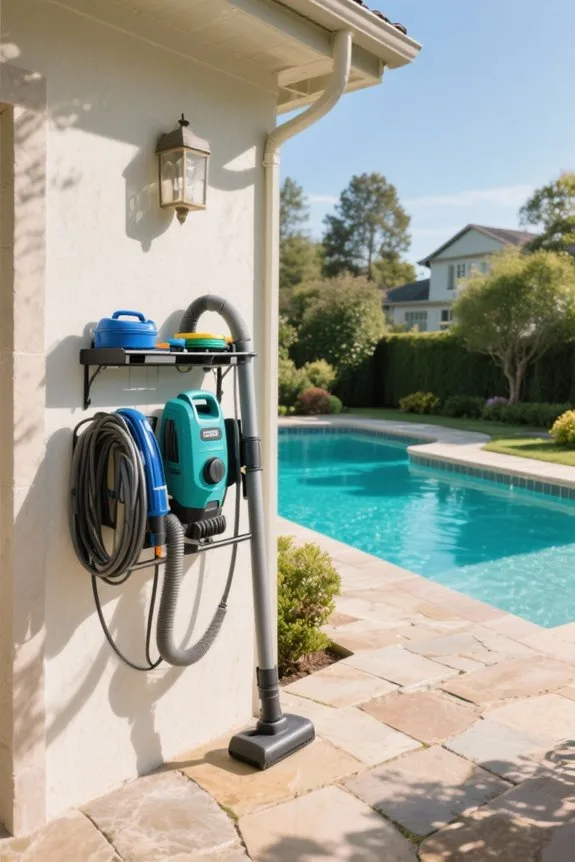
Safety Precautions Before Starting Repairs
You may be interested
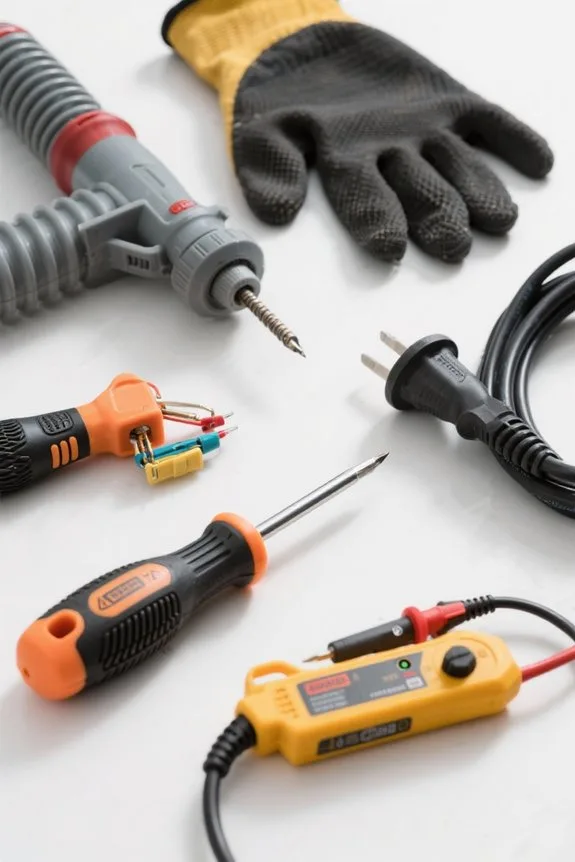
Before initiating any repair work on the pool vacuum, always disconnect all power sources to eliminate risks of electrical shock or accidental activation. Follow essential safety precautions such as wearing safety goggles and gloves to shield your eyes and hands from debris and sharp parts. Check that the work area is completely dry and free of standing water, minimizing chances of slips or electrical hazards. Consult the manufacturer’s manual thoroughly; it provides model-specific safety information and best repair practices. Utilize only tools designed for pool maintenance, like waterproof screwdrivers and non-conductive wrenches, to prevent equipment damage or personal injury. Establish a clutter-free workspace to avoid trips and mishaps. Adhering strictly to these safety precautions guarantees a secure environment while tackling pool vacuum repairs efficiently and correctly. Additionally, slip resistance features are important to consider around pool maintenance areas to reduce accident risks.
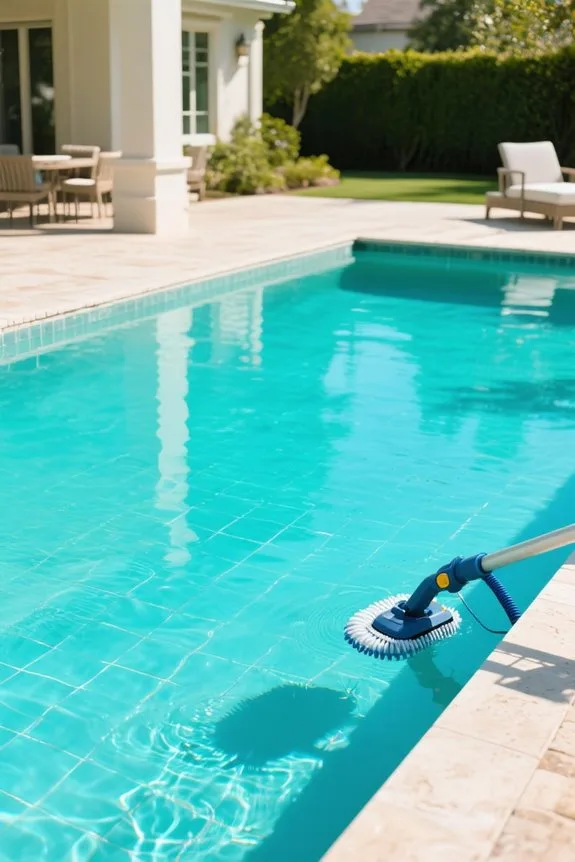
Inspecting Suction-Side Pool Cleaner Components
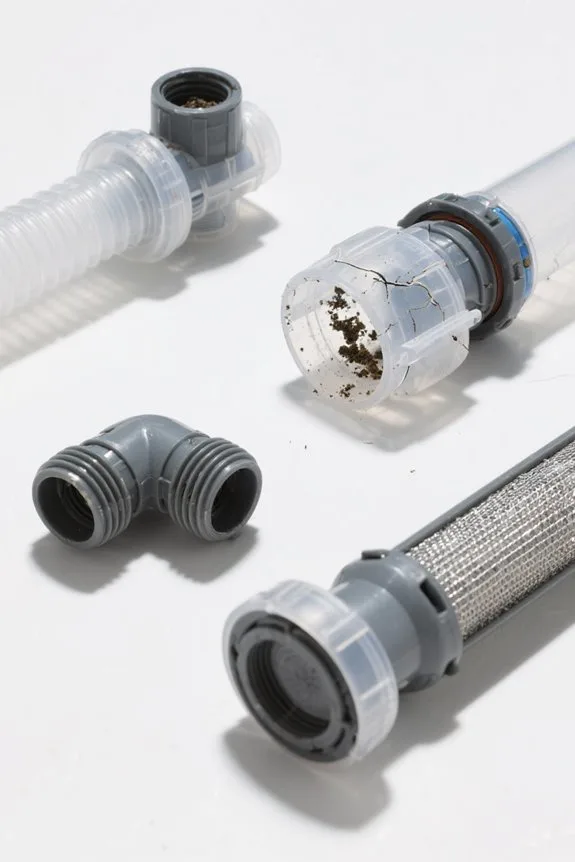
When inspecting suction-side pool cleaner components, start by thoroughly examining the vacuum hose for leaks or cracks that reduce suction efficiency. Secure loose connections to prevent air leaks, which notably disrupt suction performance. Clear debris from the cleaner’s mouth and basket strainer, as clogs cause intermittent operation and reduced functionality. Next, inspect the skimmer and pump baskets for blockages that impede ideal water flow and suction. Check hose fittings carefully for damage; replace any compromised parts to restore proper seal and suction. Finally, evaluate the sand filter’s pressure gauge; readings above 30 psi often indicate a clogged filter requiring backwashing or cleaning to maintain flow. Following these steps guarantees the suction side of the pool cleaner functions efficiently, avoiding common issues that degrade cleaning effectiveness. For long-term efficiency, consider investing in models with advanced navigation technology that optimize cleaning paths and reduce strain on suction components.
Diagnosing Pressure-Side Pool Cleaner Problems
How can one pinpoint common issues in pressure-side pool cleaners? Begin by checking the pool pump and booster pump operation, ensuring consistent water pressure through the return line. Inspect hoses for kinks, tangles, or cracks that may hinder movement. Open the cleaner’s casing, examine the internal filter for clogs, and clean if necessary to restore proper suction. Rotate mechanical parts like shafts, belts, or chains manually, observing for breaks or stiffness that indicate wear. Measure water pressure at the cleaner’s intake, confirming it meets manufacturer specifications. If mobility is poor, verify that water flow is unobstructed by pump or line issues. Follow these steps methodically to identify malfunction points, preventing costly replacements and maintaining ideal pool cleaning performance.
Handling Common Robotic Pool Cleaner Issues
Although robotic pool cleaners offer autonomous operation, diagnose power supply issues by checking the outlet voltage and inspect the power cord thoroughly for cuts or tangles that could cause intermittent failures. If the pool vacuum stops unexpectedly, reset the unit following the manufacturer’s steps to clear software glitches. Remove and clean the filter canister regularly to prevent suction loss, ensuring efficient debris collection. Examine the wheels and brushes for debris buildup, which can restrict movement and reduce cleaning effectiveness; clear any obstructions found. Since robotic models operate independently, isolating problems like power interruptions or mobility blocks is straightforward. Always address these common issues systematically to restore performance without professional help, reducing downtime and maintaining consistent pool cleaning results. Utilizing models with smart navigation technology can also assist in diagnosing and preventing operational issues by optimizing movement paths and avoiding obstacles.
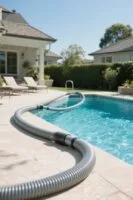
Checking and Clearing Hoses and Connections
Numerous vacuum hoses require thorough inspection for leaks, cracks, or damage, as these defects sharply decrease suction efficiency. Begin by visually examining every hose segment, feeling for soft spots or brittleness, then test connections between hoses and the vacuum head, ensuring a snug fit to prevent air leaks. Detach hoses to clear any debris inside, using a garden hose or flexible brush, restoring unobstructed flow. Check the cleaner’s intake and basket strainer for blockages that restrict suction. Inspect skimmer and pump baskets for leaves or dirt, as clogs diminish vacuum power. Confirm the multiport valve is set to “Filter” during vacuuming to maintain correct suction. Addressing hoses and connections meticulously often resolves common performance issues without requiring costly repairs or replacements. Additionally, maintaining the filter and debris bags in Aquabot pool cleaners is essential for preserving filtration efficiency and suction power.
Cleaning and Maintaining Pool Vacuum Filters
Every pool vacuum filter demands consistent attention to maintain peak suction performance and prevent operational disruptions. Start by removing the filter canister from robotic vacuums after each use, rinse it thoroughly, and clear trapped debris. For suction-side cleaners, inspect skimmer and pump basket filters weekly; remove leaves and sediment to avoid suction loss. Pressure-side cleaners require opening the internal filter compartment regularly; flush out clogs with a garden hose, targeting mesh screens and filter pads. Use a soft brush to dislodge stubborn particles, ensuring no damage to filter media. Consistent cleaning retains water flow and prevents strain on the motor. Follow manufacturer guidelines for filter replacement intervals to extend equipment lifespan, and avoid letting grease or dirt build up, which compromises vacuum efficiency and can lead to costly repairs. It is also important to check and clean the filter every two weeks to remove debris and clogs for optimal vacuum performance.
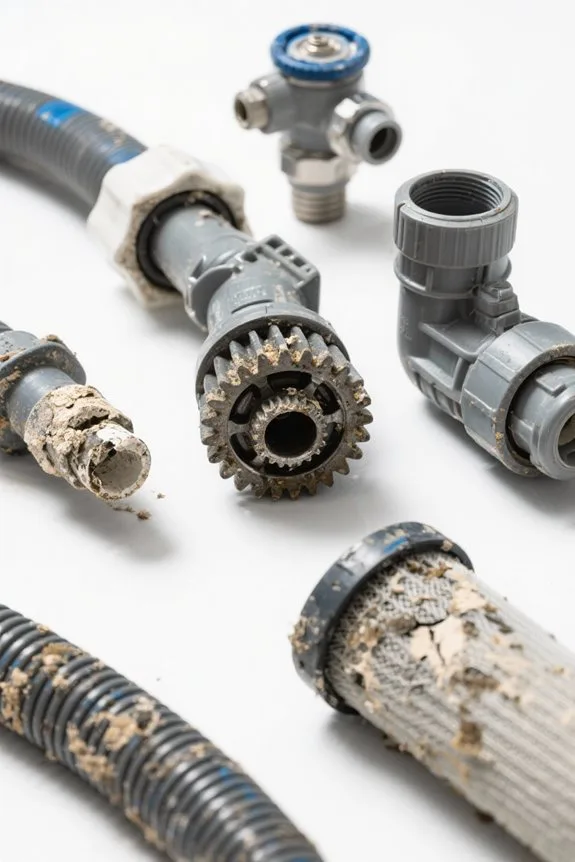
Lubricating Seals and Replacing Worn Parts
Start by applying a suitable waterproof pool lubricant to all rubber seals, including O-rings and gaskets, ensuring complete coverage without excess buildup. Inspect each seal carefully for cracks, wear, or hardening, as these issues reduce suction efficiency. Replace any damaged parts using manufacturer-approved replacements to maintain airtight connections. Focus on lubricating seals properly to enhance flexibility and prevent drying. Tighten loose fittings or replace faulty connectors, as leaks harm vacuum performance. Use a specific pool-safe lubricant compatible with rubber to extend seal life. Routinely check seals during maintenance intervals, especially after heavy usage. Document replacement dates and inspect for unexpected damage after winter storage or long periods of inactivity. This routine preserves vacuum functionality and prevents costly repairs, optimizing your pool cleaner’s lifespan and performance. When replacing parts, ensure you select fittings that meet temperature resistance standards to avoid warping and leaks in your pool system.
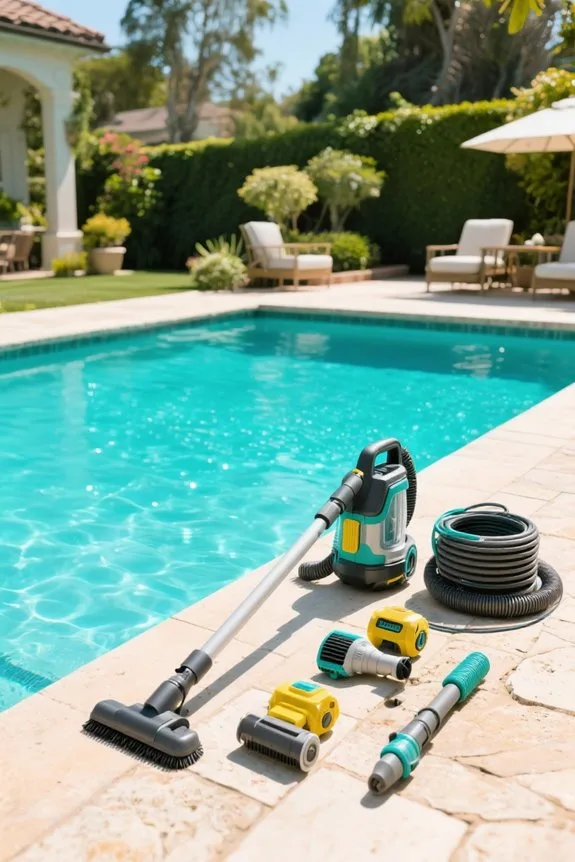
When to Use Repair Kits for Pool Cleaners
Identify early signs of mechanical failure, such as significant suction loss, wheel irregularities, or persistent unusual noises, before these issues worsen. Inspect internal components regularly, noting sluggish wheels or reduced cleaning power. Use repair kits when these symptoms indicate wear or damage, especially for pump-driven cleaners needing a rebuild every five years. Choose model-specific repair kits from manufacturers like Polaris to guarantee compatibility. Disassemble the unit carefully using basic tools, replace worn seals, diaphragms, or gears included in the kit, then lubricate moving parts. Follow instructions precisely for proper installation, preventing further damage and extending cleaner life by 5-6 years. Maintain routine checks alongside these repairs to preserve efficiency. Opt for repair kits when internal faults degrade performance but avoid delay to prevent costly replacements. Additionally, ensure that the vacuum maintains an optimal runtime to avoid interruptions during cleaning and reduce strain on components.
Recognizing When to Consult a Professional
Monitor repair attempts closely, and if basic troubleshooting like inspecting hoses and seals fails to restore functionality, prepare to seek professional services. Check for persistent pump malfunctions, especially if the vacuum is over five years old, such as a Polaris 200 series model requiring complex internal repairs. Assess the repair costs carefully; avoid spending more than half the price of a new unit. Examine the power supply and mechanical components of robotic cleaners—these often need expert attention due to technical complexity. When uncertain about the extent of damage or risk of compromising vacuum performance, prioritize consulting a technician. Professionals possess specialized tools and knowledge essential for effective pump repairs and can help determine whether repair or replacement guarantees peak pool cleaner operation. Additionally, just as durable materials and proper installation are key for shade sail maintenance in other equipment, proper care and timely repair are crucial to extending your vacuum’s lifespan.
Frequently Asked Questions
What Can You Use Instead of a Pool Vacuum?
Pool alternatives include using manual pool brushes to scrub surfaces, leaf nets or skimmers for debris removal, garden sprayers combined with hoses for dislodging dirt, automatic cleanings robots, and submersible pumps for draining and maintenance tasks.
How to Fix Suction Issues on Pool Vacuum?
Suction problems in pool vacuums are often resolved by inspecting hoses for leaks, clearing skimmer and pump baskets, cleaning or backwashing filters above 30 psi, and ensuring the multiport valve is correctly set to “Filter.”
Can Pool Vacuums Be Repaired?
Pool vacuums can indeed be repaired using basic repair techniques. Though some may doubt their complexity, many common issues like clogged hoses or worn parts are easily fixable, extending vacuum life cost-effectively with proper guidance and tools.
How to Vacuum a Pool Without a Vacuum?
To vacuum a pool without a vacuum, one can use a garden hose submerged to create suction, manually sweep debris with a brush or skimmer, and employ floating objects like tennis balls to dislodge settled dirt during pool cleaning.